Tutorial: Accelerate Wordpress with PUSHR CDN and WP Fastest Cache
Adding PUSHR CDN to your Wordpress website is easy and takes just a few minutes. Once enabled, our CDN will take care of the delivery of all static content including css, js files and post images.
Note: Premalinks should be enabled on your Wordpress site before proceeding
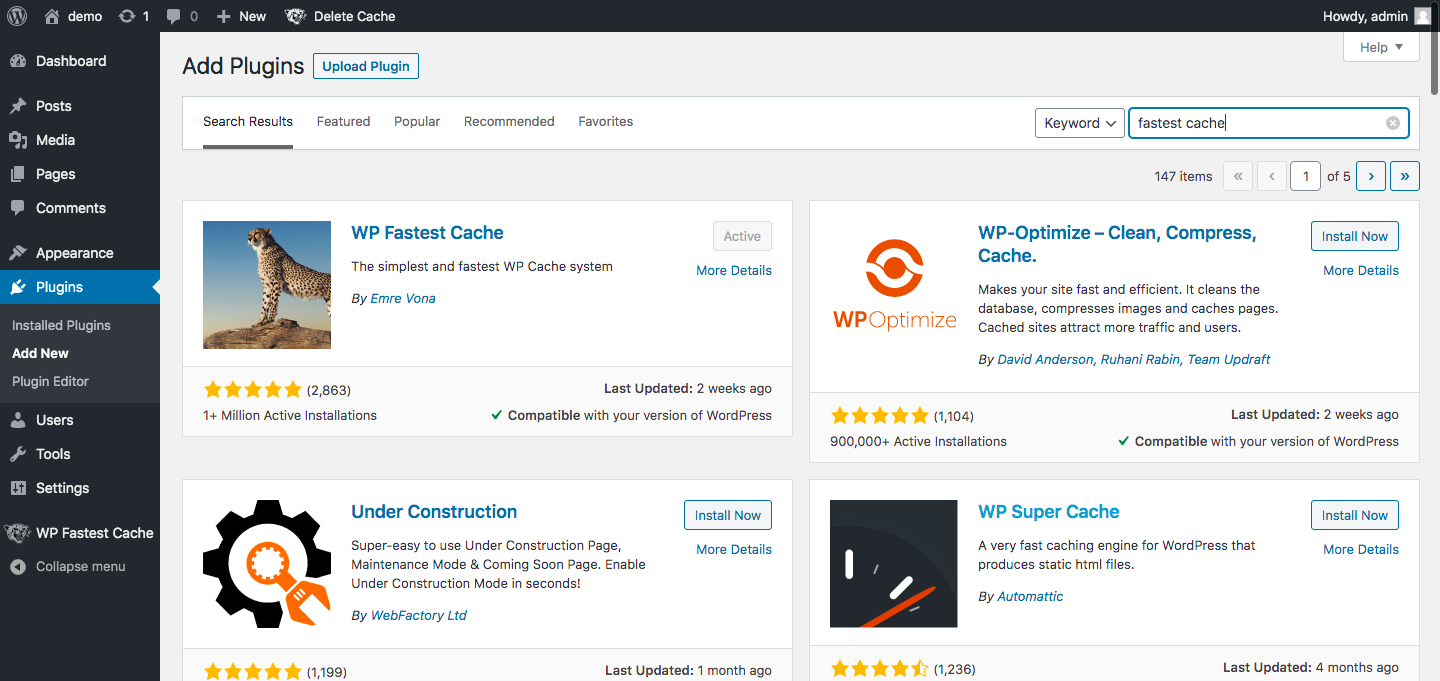
1. Install WP Fastest Cache
One of the easiest ways to integrate PUSHR CDN in your Wordpress website is by installing the free WP Fastest Cache plugin. Find the plugin and install it:
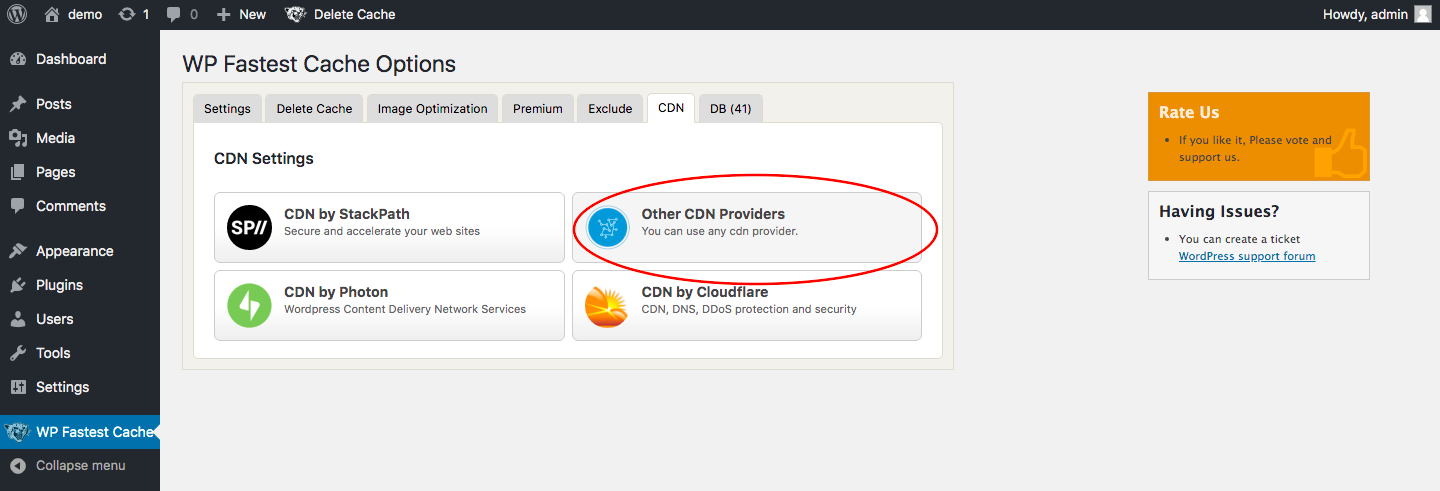
Activate the plugin and go to it's configuration settings. Click on the CDN tab and select the option Other CDN Providers:
1.1. Origin URL
You will be presented with the the following screen to configure PUSHR CDN for your website. In this example the blog that we will be accelerating is located at http://wp.cache.ly, but you should replace the Origin URL with the actual URL of your website. The URL of your website should also be set as Origin Web Server in your CDN zone's dashboard inside your PUSHR account. Here is how it looks like for our example:
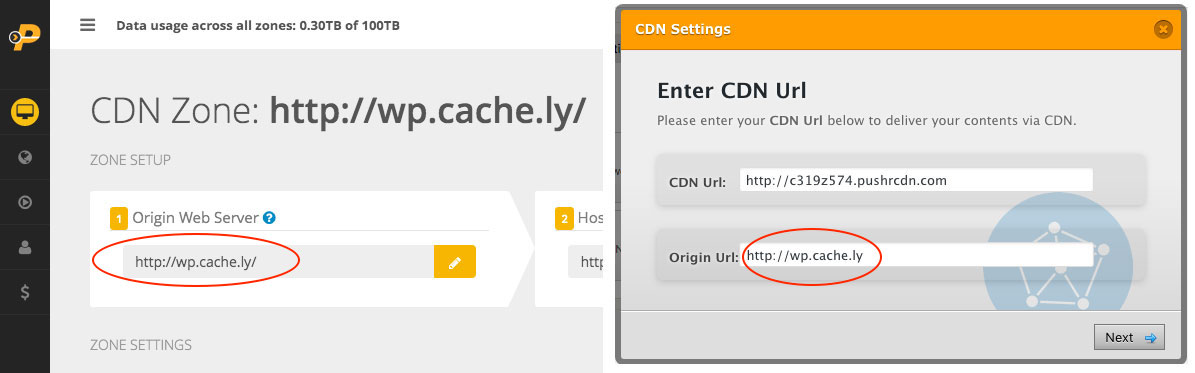
1.2. CDN Url
In the CDN Url of WP Fastest Cache enter the CDN URL that is shown in your PUSHR dashboard. This is an automatically generated unique URL by PUSHR when you have created your CDN zone:

Click Next and you will be presented with a few other screens on which you can select which types of files to exclude from acceleration via the CDN. In most cases leaving all types selected is recommended. Finish up by Clicking the Finish button:
2. Enable the CDN plugin
At this point you are alsmost ready. Go to the Settings tab of WP Fastest Cache and select the following options:

Click Submit to save your settings. Your Website is now accelerated by PUSHR CDN. To confirm changes have taken effect, visit your website and do a right click > view source. You should notice the links to static assets have been replaced with your CDN URL: